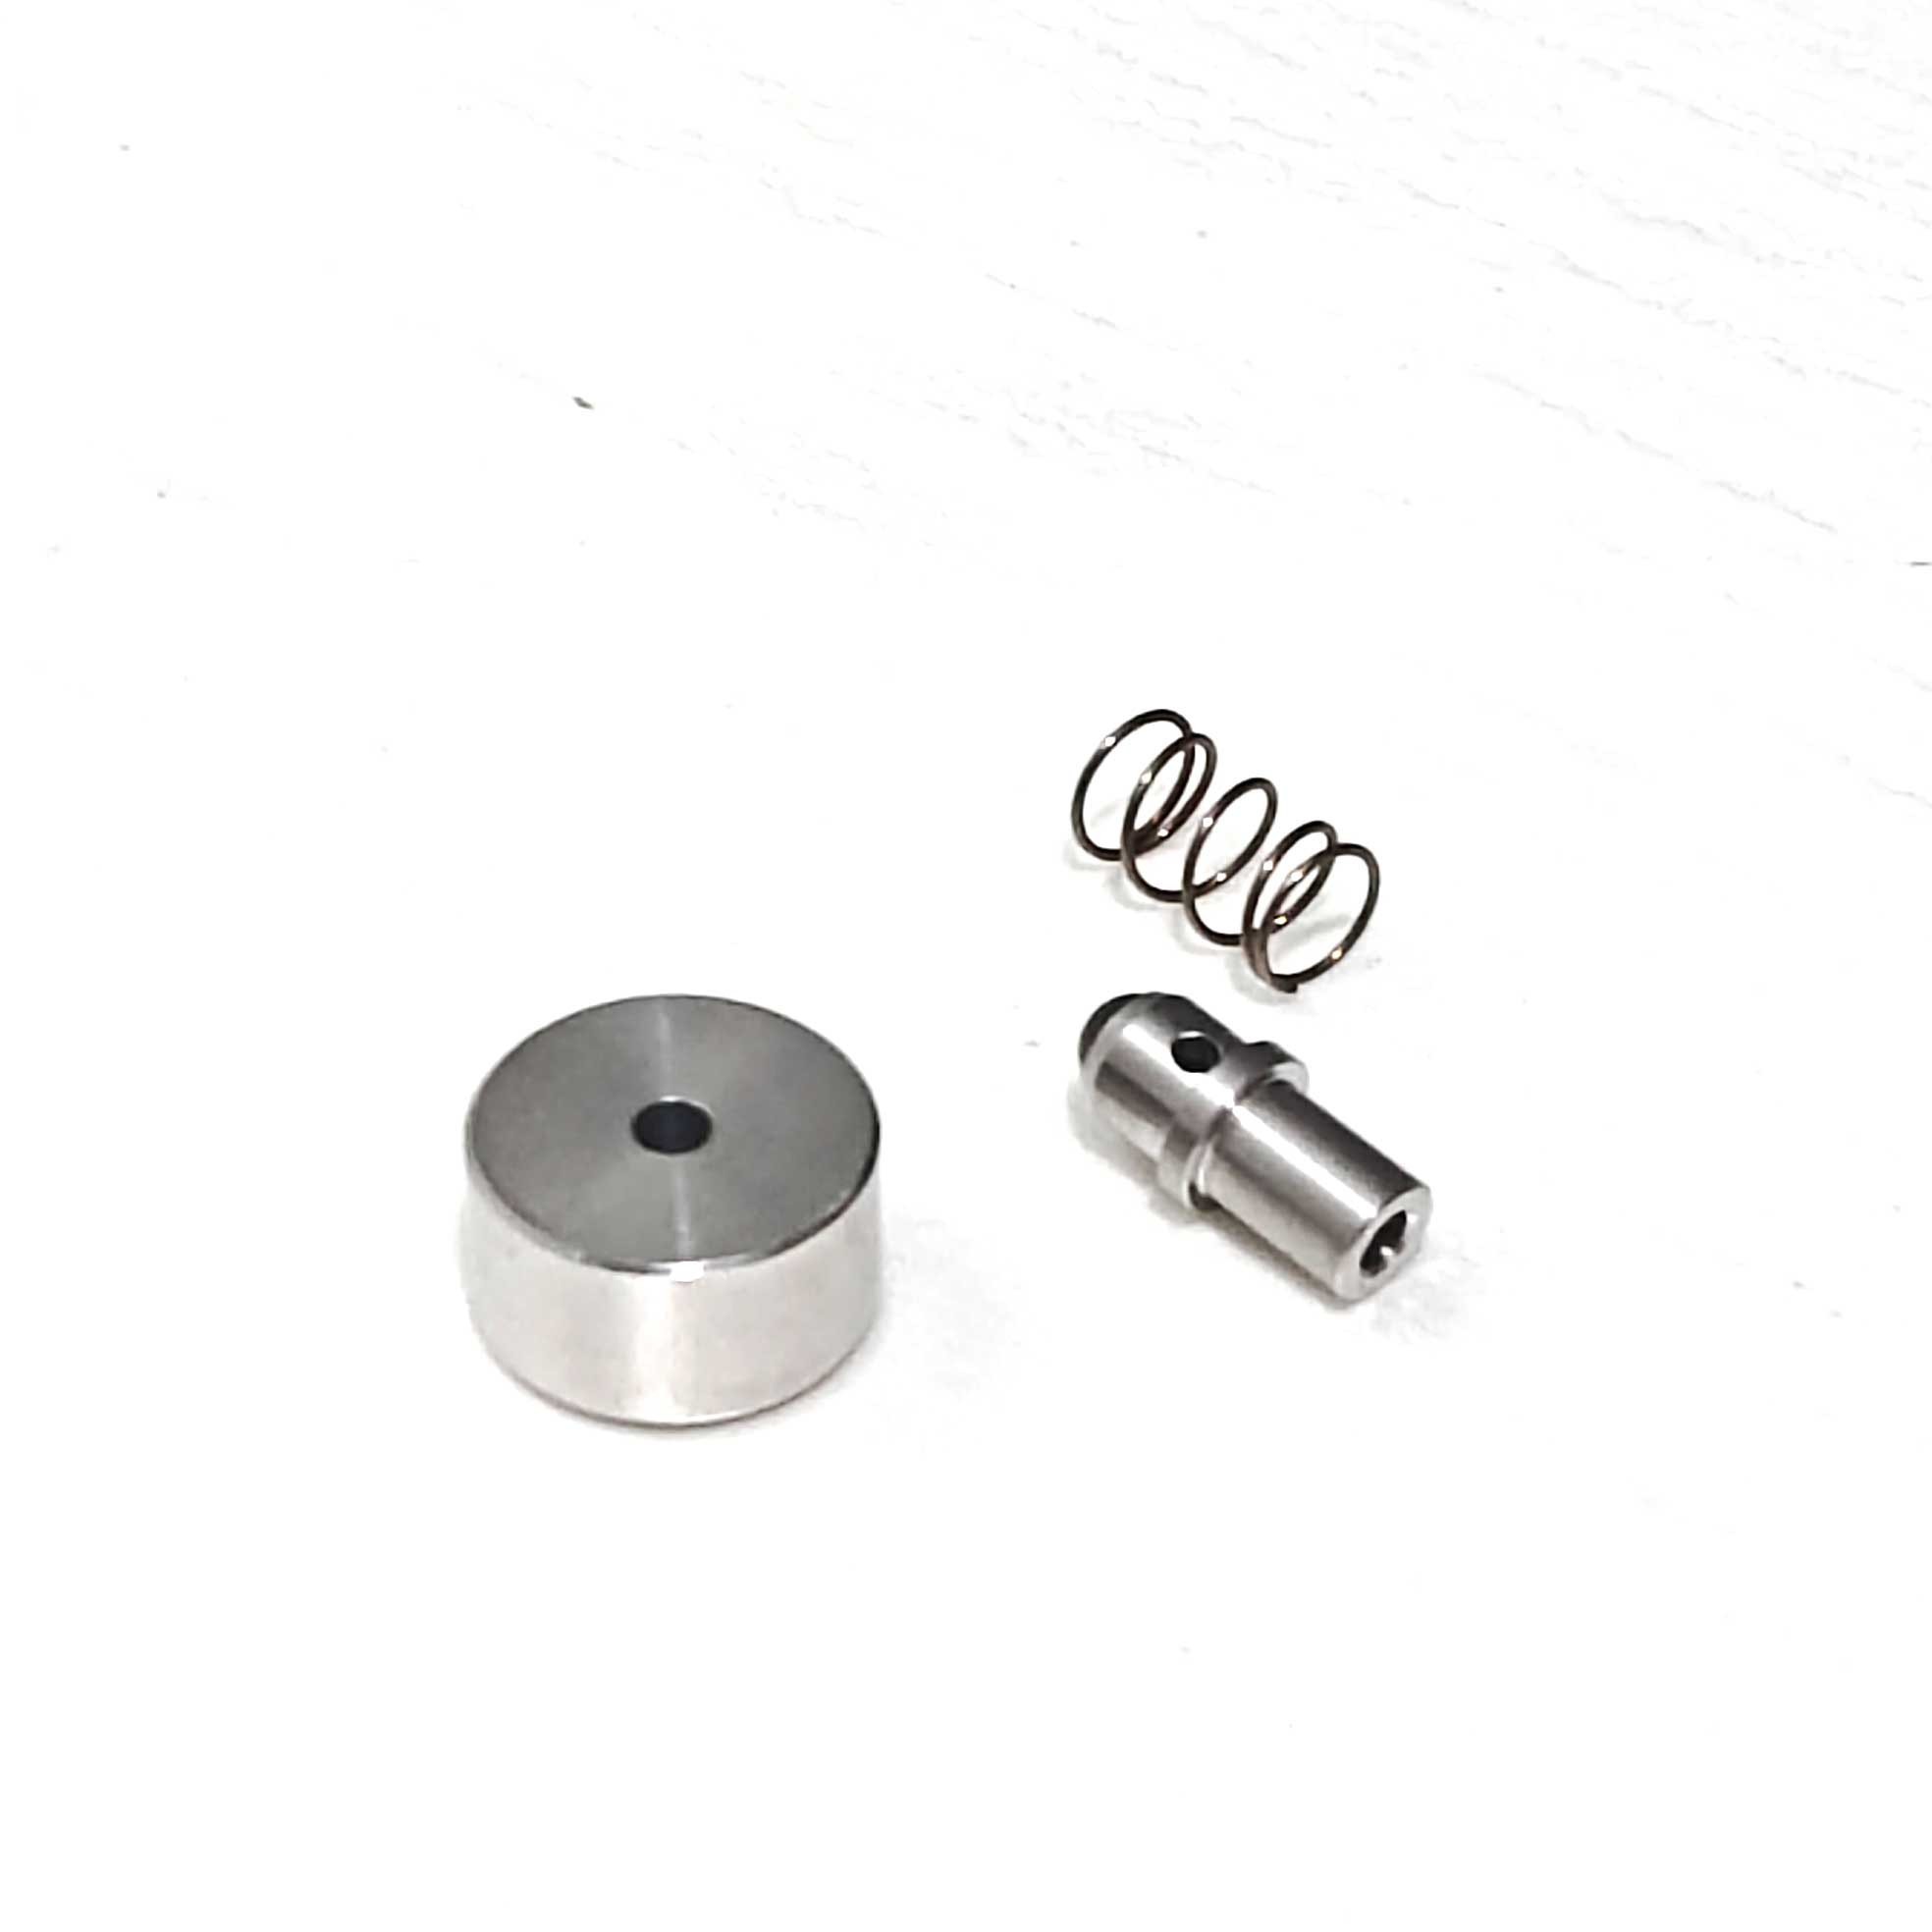
3-items-in-repair-kit-for-YONGDA-waterjet.2166.3-1
Product Category: Repair Kit for Yongda Waterjet On/Off Valve (Water Switch)
Description:
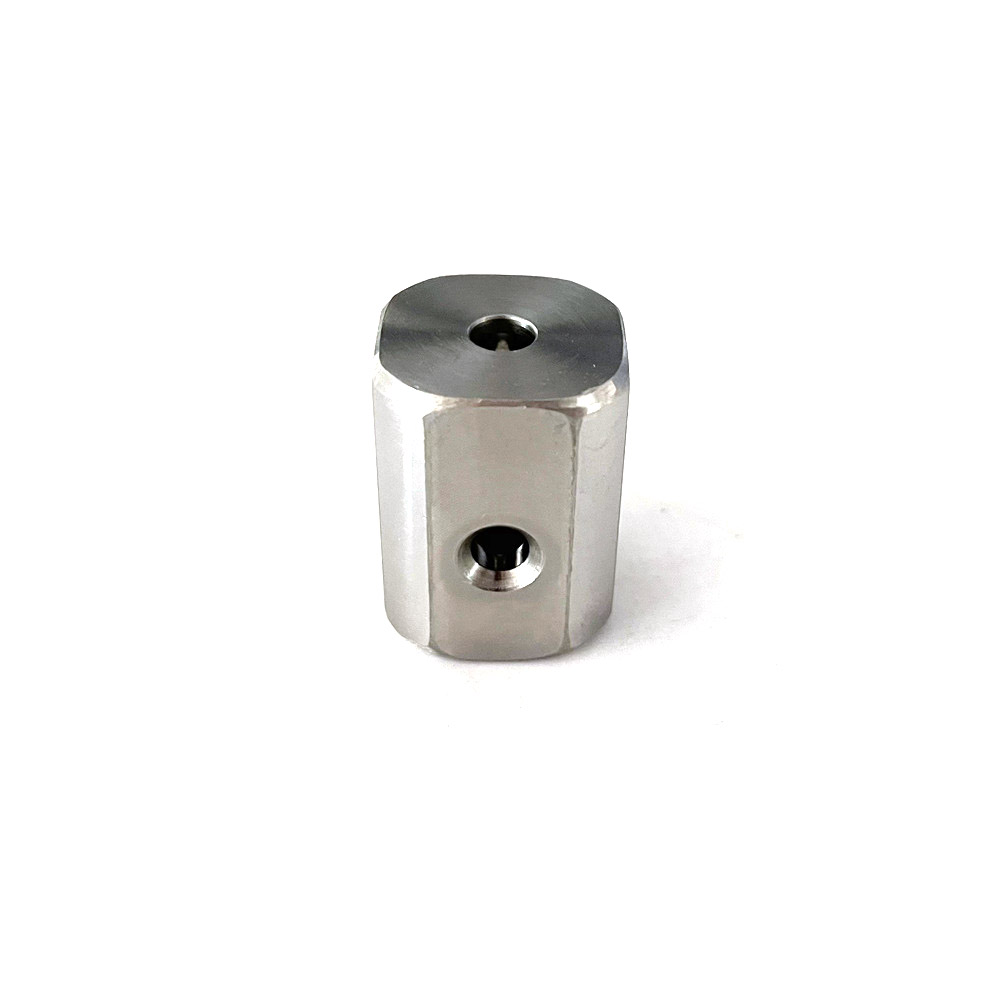
This repair kit is designed for maintaining the pneumatic on/off valve (water switch) on Yongda brand waterjet cutting systems . The kit contains the essential consumable components required to rebuild the valve, restoring its ability to start and stop the high-pressure waterjet without leakage.
The on/off valve is a pneumatically actuated component that controls the flow of water to the cutting head. Over time, the internal seals and the valve needle (stem) wear out due to high-pressure cycling, leading to water leakage or the inability to completely stop the jet .
Three Items in the Kit:
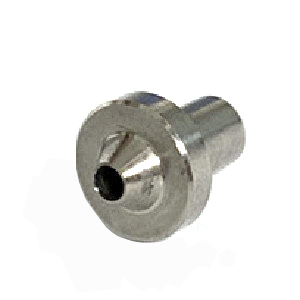
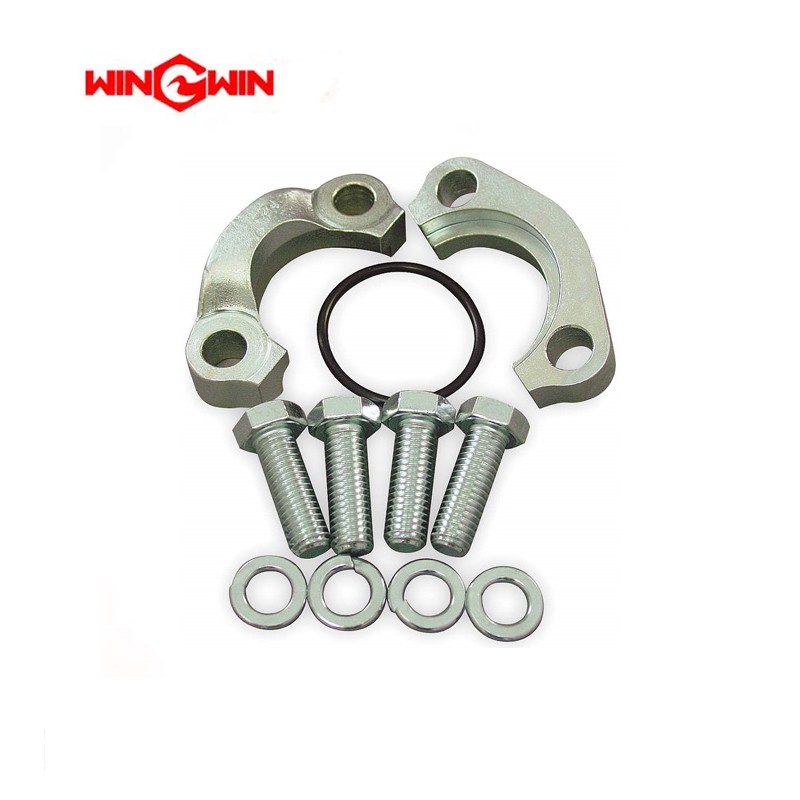
Based on standard water switch repair procedures and the components referenced in maintenance guides, the kit typically includes the following three critical items :
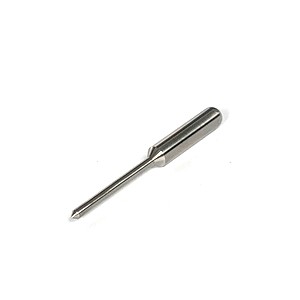
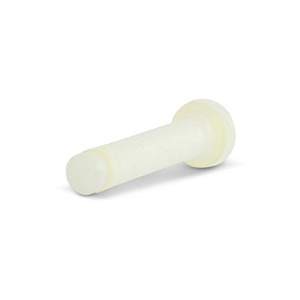
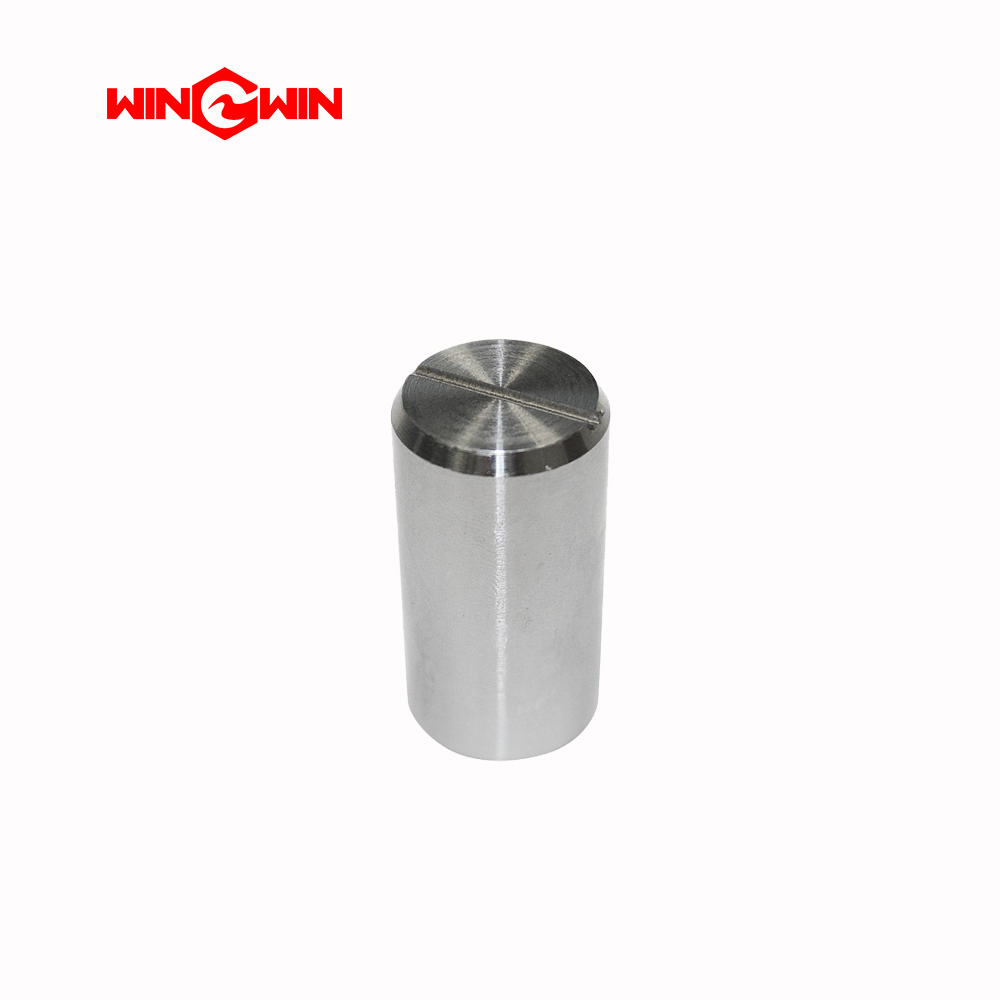
Valve Stem / Needle : The central moving part that physically opens or closes the valve seat. It is subject to wear and deformation from repeated impact.
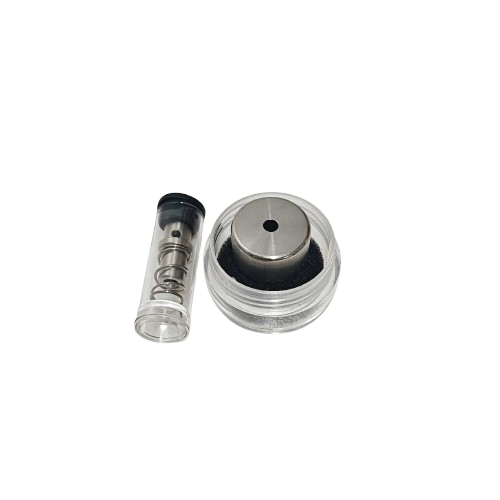
Seal Assembly / Gaskets : High-pressure seals (including the main seal and backup rings) that prevent high-pressure water from leaking past the stem when the valve is closed.
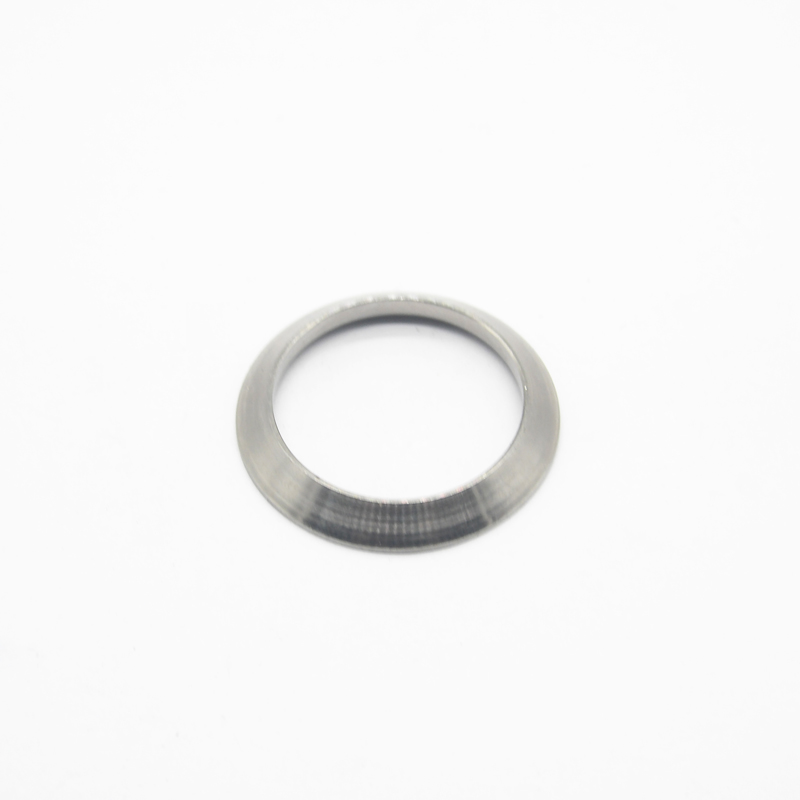
Retaining / Seal Washers: Backup washers or retaining rings used to hold the seals in place and provide anti-extrusion support under ultra-high pressure.
Applications:
Specifically designed for the pneumatic on/off valve (water switch) on Yongda waterjet cutting machines .
Used to repair valves that are leaking water from the cutting head when the machine is in "stop" mode.
Suitable for restoring a valve that fails to fully open or close, affecting cutting performance.
Features:
Restores Valve Function: Replaces worn internal parts to stop water leakage and ensure a tight shut-off .
Includes Critical Consumables: Contains the valve needle, high-pressure seals, and backing washers required for a complete overhaul.
Easy Maintenance: Designed to allow rebuilding of the valve without replacing the entire expensive valve body.
Maintenance (Installation Procedure):
Preparation: Fully depressurize the waterjet system. Disconnect the air supply to the valve .
Disassembly: Open the air valve to retract the stem. Remove the top fittings and carefully extract the old needle and seals .
Cleaning: Clean the valve body cavity thoroughly to remove debris and old seal residue.
Lubrication: Apply a small amount of hydraulic oil to the new seals and needle during installation to prevent dry start-up .
Adjustment (Critical): After reassembly, tighten the pneumatic cylinder hand-tight until it stops. Rotate it back 360 degrees (one full turn), then advance it 180 degrees (half a turn). Cycle the air valve to test for proper movement (not too tight or loose) .
Testing: After installation, pressurize the system and check for water leaks for 10 seconds before resuming normal cutting .