Cutting Head Parts On Off Valve Repair Kit
Product Name: Cutting Head Parts – On/Off Valve Repair Kit
Description:
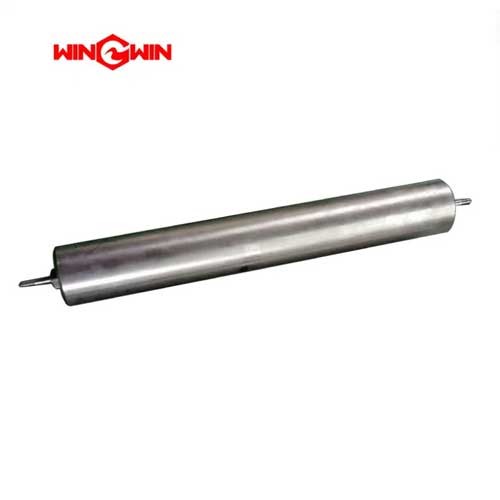
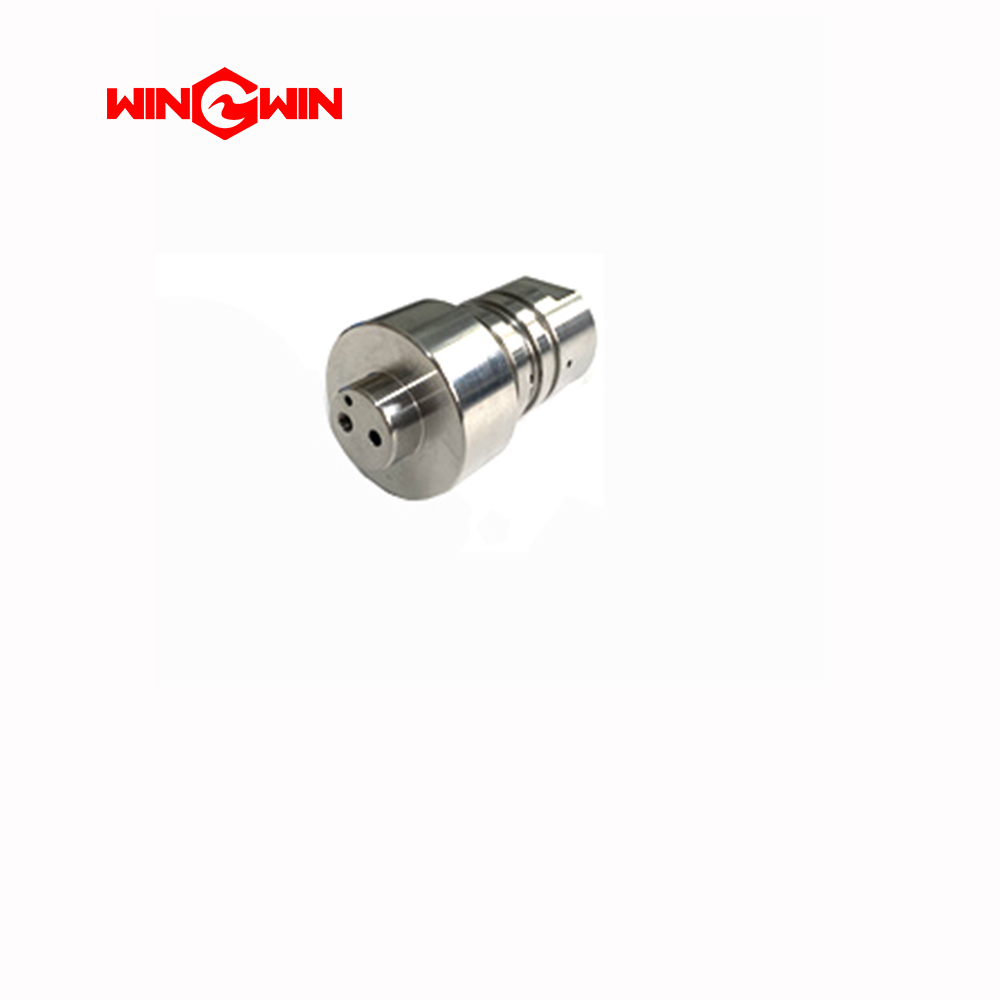
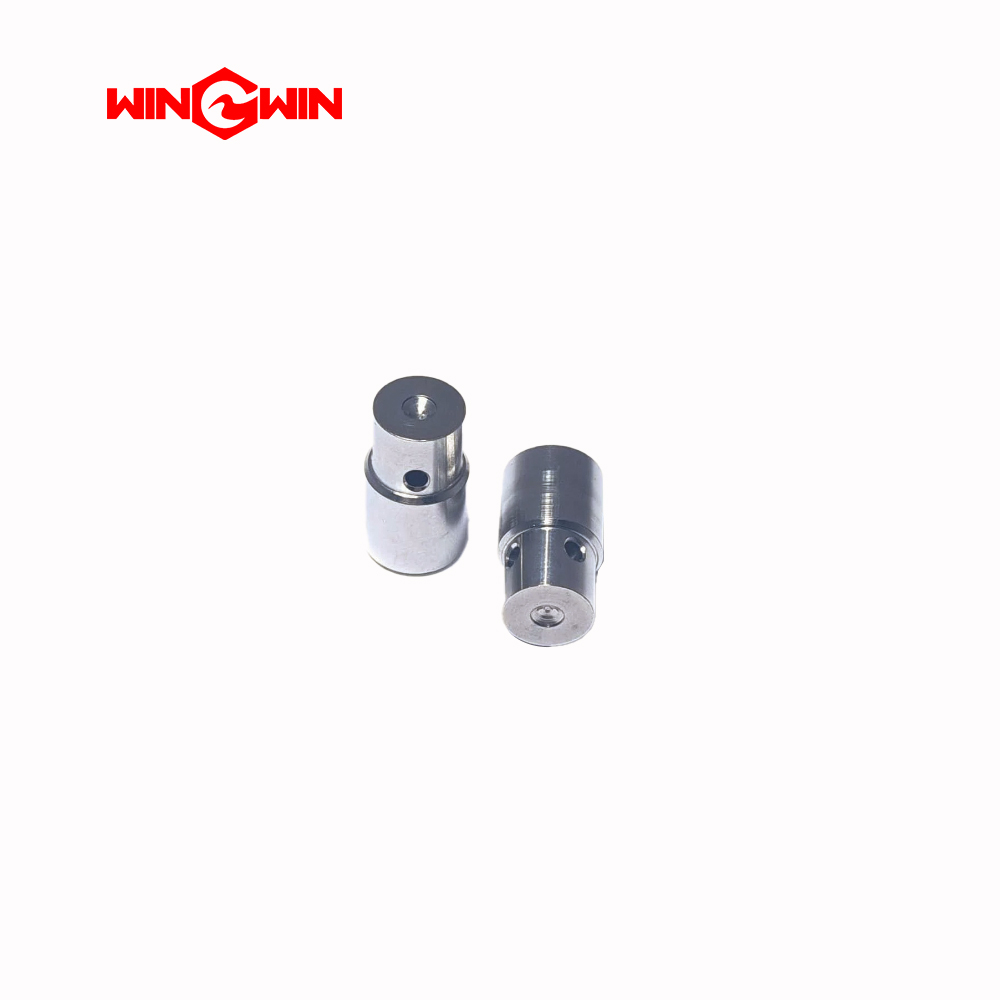
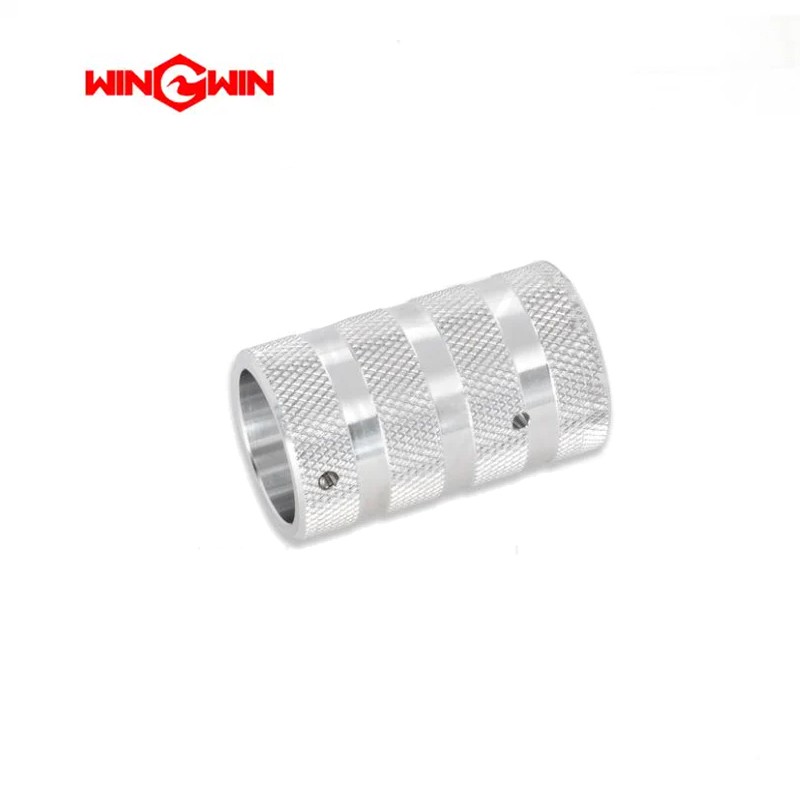
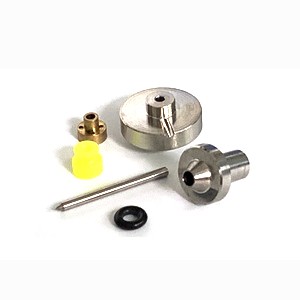
This component is a repair kit for the pneumatic on/off valve (water switch) of a waterjet cutting head assembly. It is a pre-assembled collection of precision consumable parts designed to restore the valve's ability to start and stop the high-pressure waterjet without leakage. The kit typically includes critical wear components such as the valve stem (needle), seal seat, high-pressure seals (O-rings), backup rings, guide washers, and springs. All parts are manufactured from high-grade, wear-resistant materials to withstand the ultra-high pressure (typically 60,000–90,000 PSI) and erosive conditions of abrasive waterjet cutting.
Applications:
Rebuilds the on/off valve (water switch) located between the high-pressure pump and the cutting head.
Restores the valve's ability to completely stop water flow, preventing drips from the mixing tube when the jet is off.
Eliminates pressure drops caused by internal bypass within the valve assembly.
Suitable for both pure water and abrasive waterjet cutting systems.
Features:
Complete Overhaul Set: Contains all necessary seals, seats, and moving parts for a full valve rebuild.
High-Pressure Compatibility: Engineered for continuous operation at 60,000–90,000 PSI (4,137–6,200 bar).
Wear-Resistant Materials: Components are made from hardened stainless steel, polyurethane, and PTFE to withstand erosion and high-velocity flow.
Leak Prevention: Precision-machined sealing surfaces ensure a leak-tight shut-off when the valve is closed.
OEM Specification: Designed to meet original equipment manufacturer tolerances for drop-in replacement.
Maintenance:
When to Replace (Failure Indicators):
Water drips continuously from the mixing tube outlet when the cutting jet is supposed to be OFF.
The cutting head fails to stop the jet completely, or the jet starts sluggishly.
There is a noticeable pressure drop at the cutting head even when the intensifier pump is running normally.
External high-pressure water leakage is visible from the valve body weep holes.
Preventive Schedule: It is recommended to replace the repair kit during annual machine servicing or every 800–1,000 operating hours, even without visible failure symptoms, to prevent unplanned downtime.
Replacement Procedure (Critical Steps):
Full Depressurization: Shut down the high-pressure pump, close the water supply, and trigger the cutting head to bleed all residual pressure. Follow lockout/tagout procedures.
Disassembly: Remove the pneumatic actuator (air cylinder) and unthread the retaining gland from the valve body.
Extract Old Components: Remove the old valve stem, seal seat, seals, and backup rings from the valve cavity.
Clean Cavity: Thoroughly clean the internal bore of the valve body with a soft cloth and low-pressure water. Inspect for scoring or pitting.
Install New Components: Lubricate new seals with high-pressure grease. Install the new backup rings, seals, seat, and valve stem in the correct order (refer to diagram).
Adjust Clearance: Reinstall the air cylinder hand-tight, then back it off 360 degrees (one full turn) before tightening the lock nut to ensure proper actuation clearance.
Test: Slowly re-pressurize the system and check for leaks. Verify the valve opens and closes cleanly.
Water Quality: Poor water quality (high hardness, particles >5 microns) accelerates seal and seat wear. Maintain proper filtration to maximize kit life.