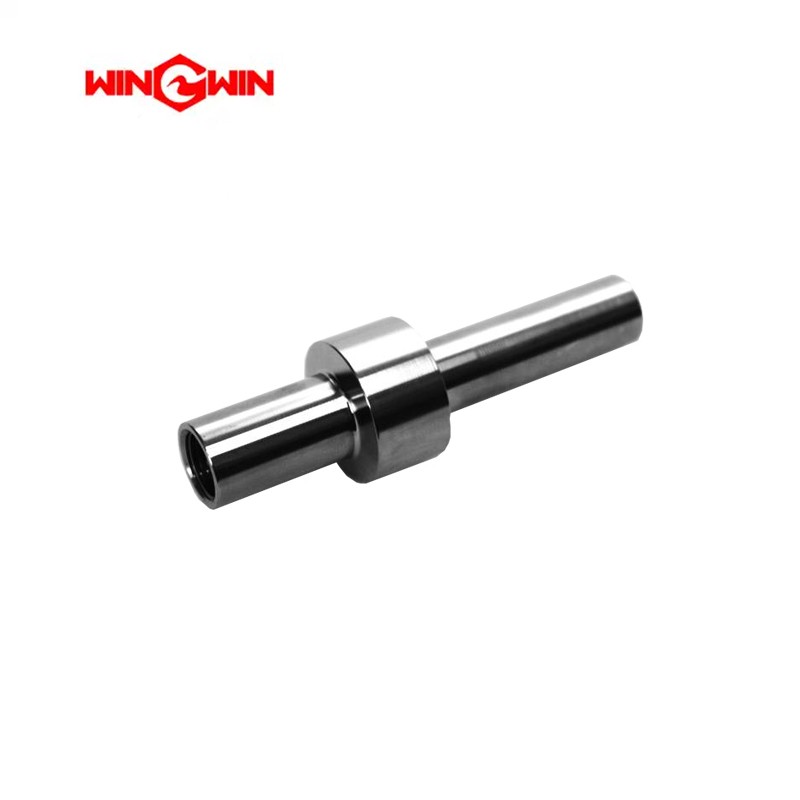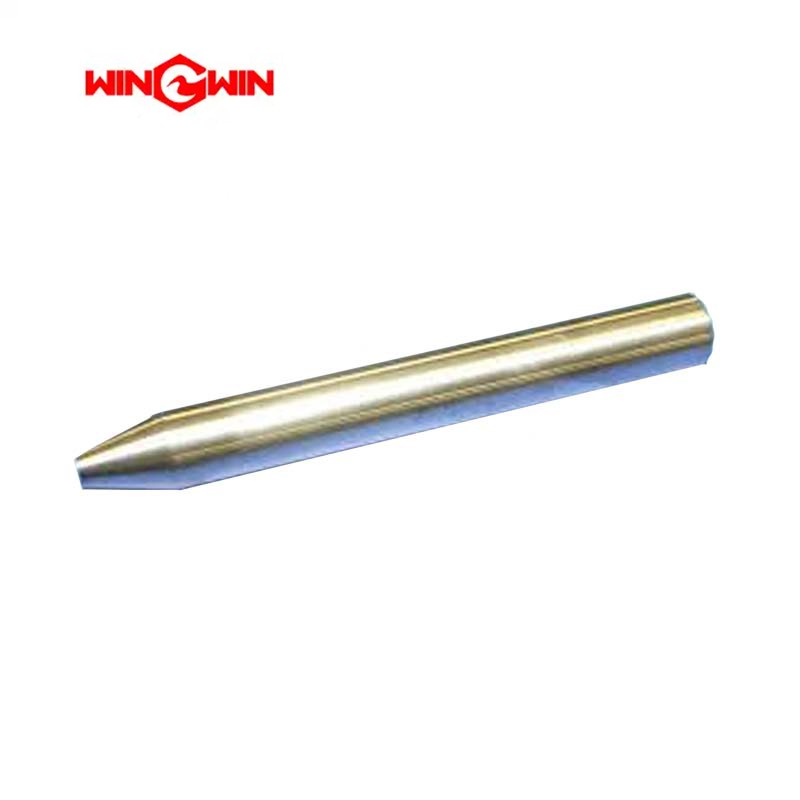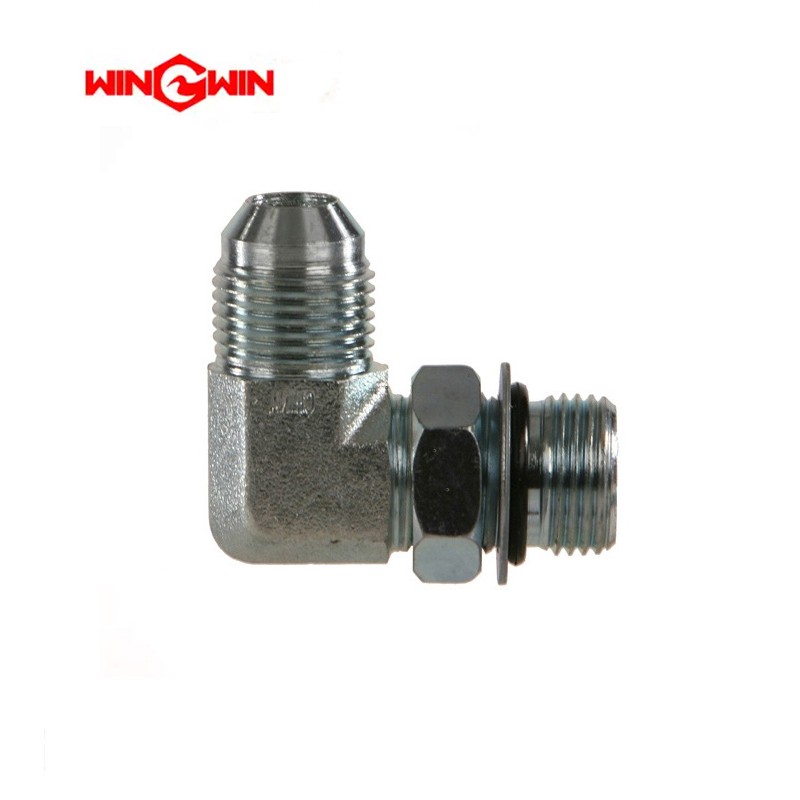
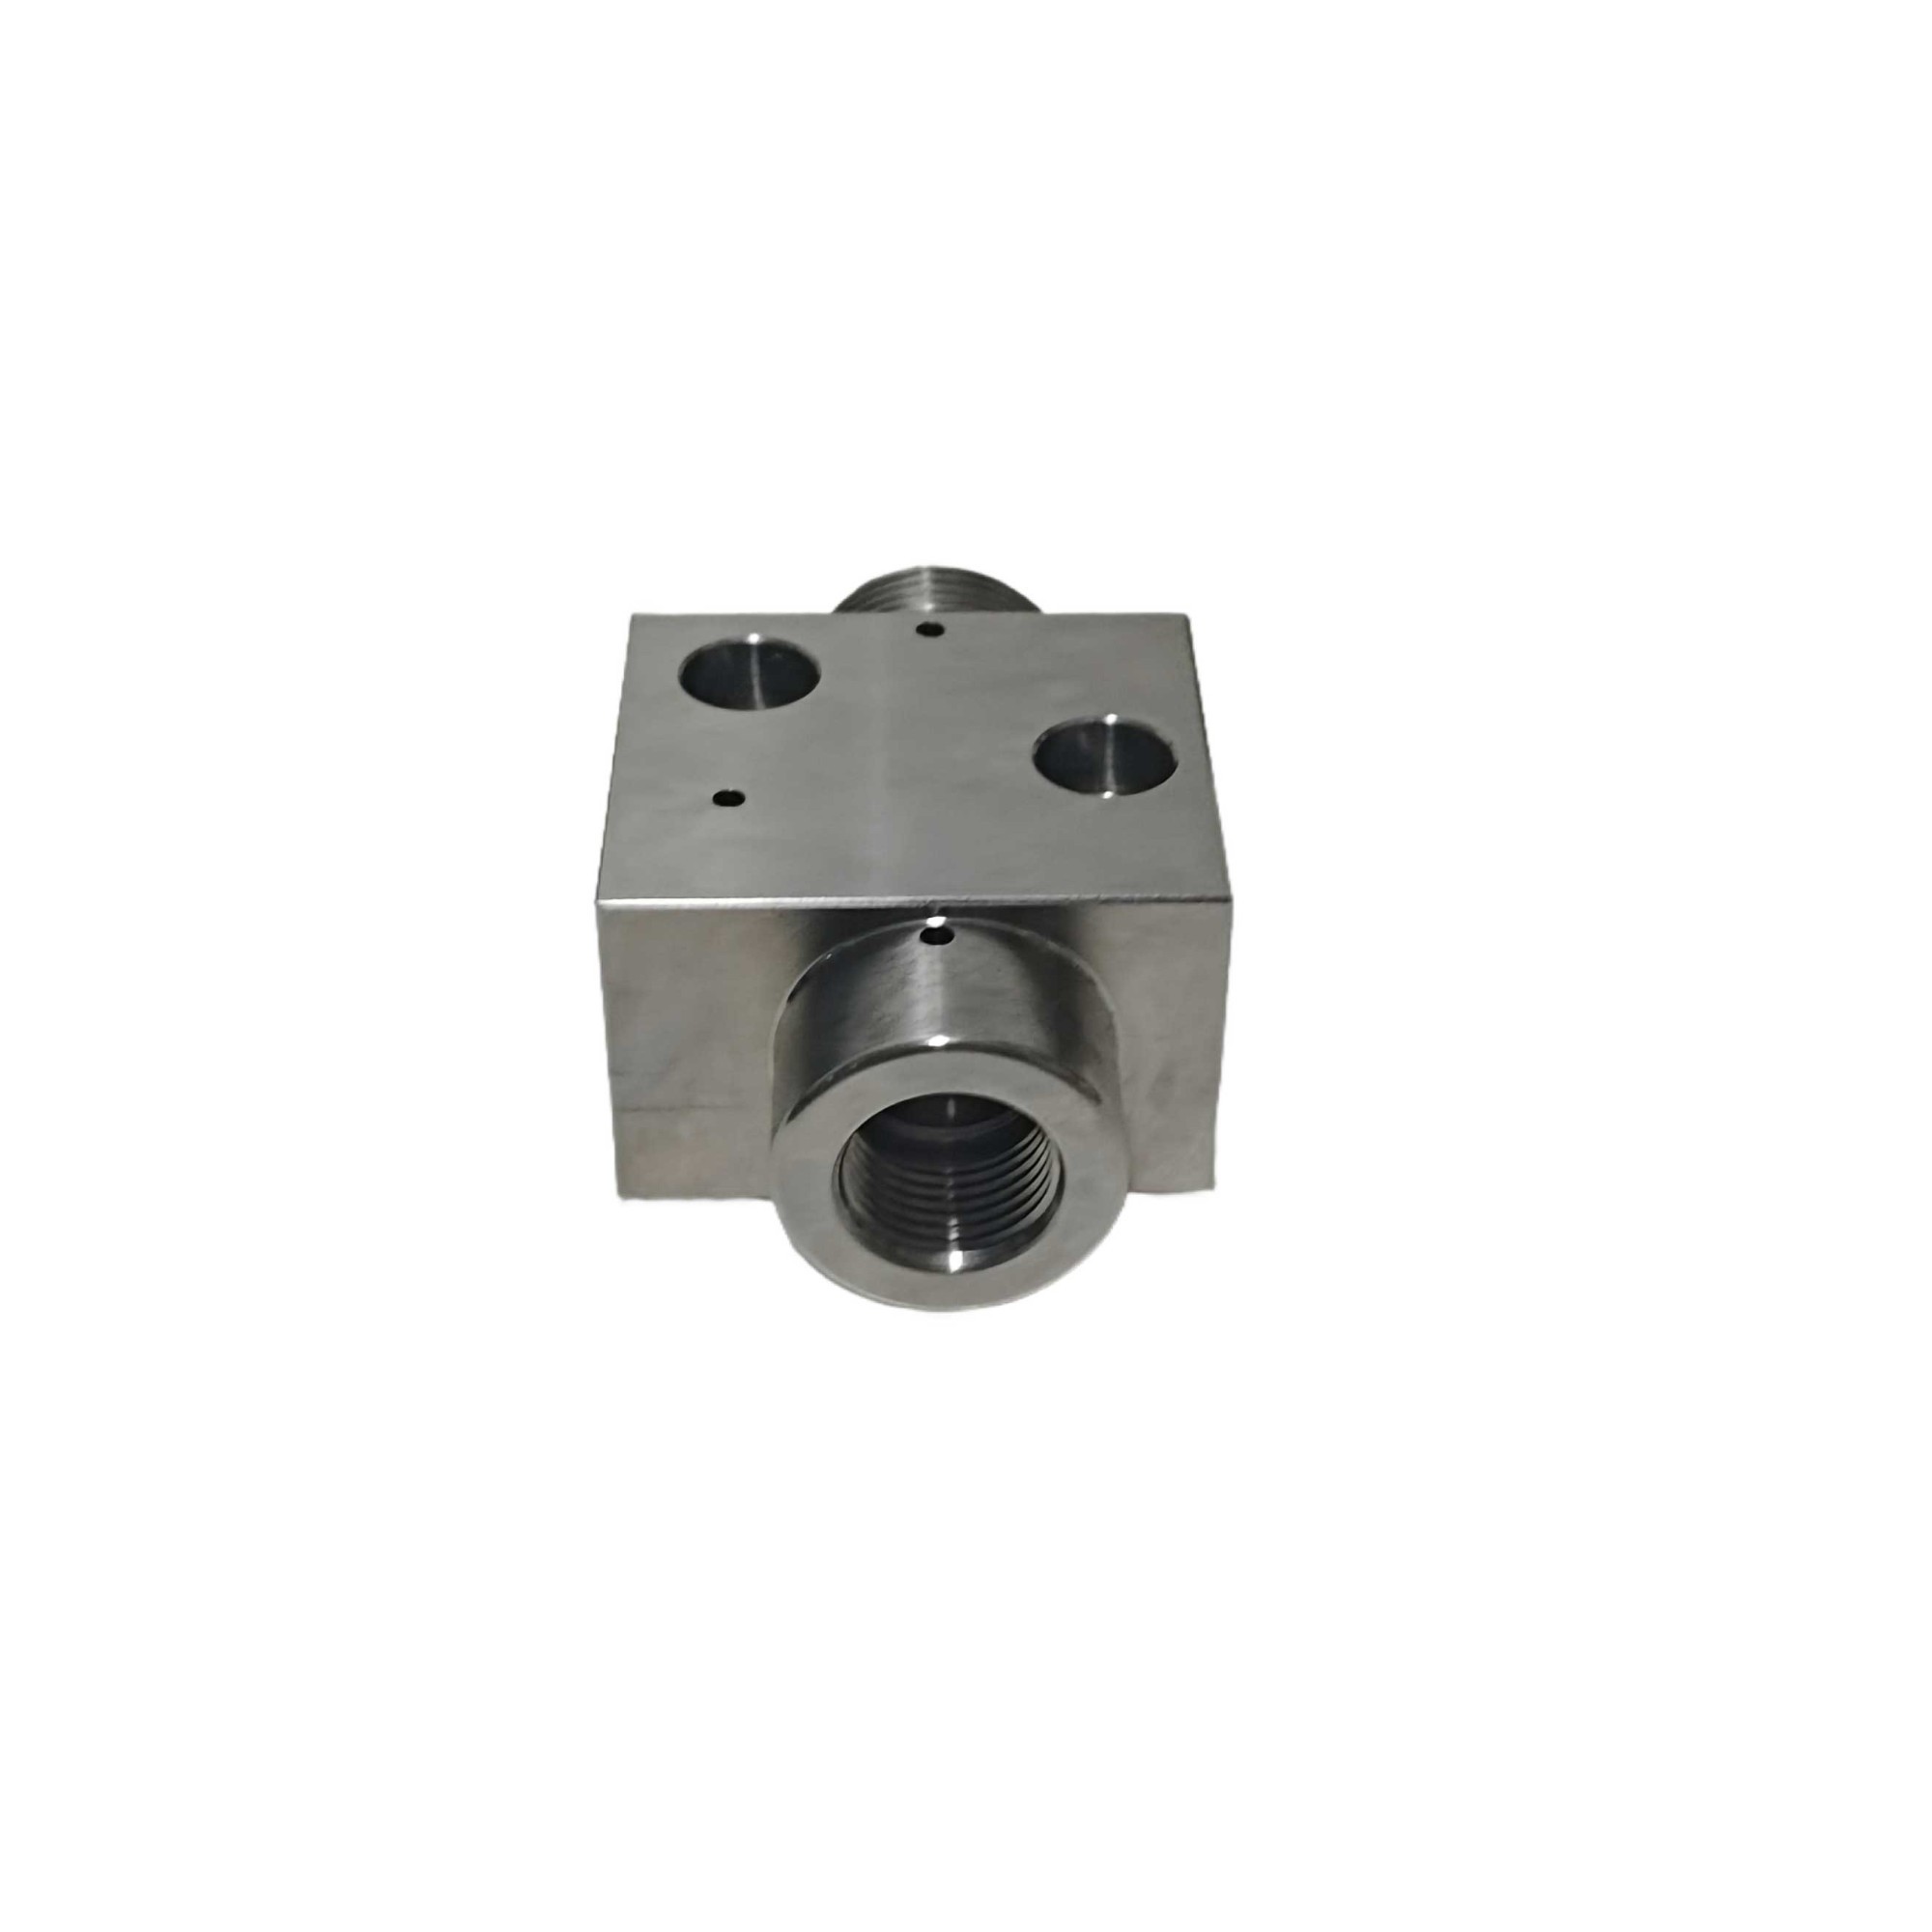
Onoff-repair-kit-for-YONGDA.2167.3-1
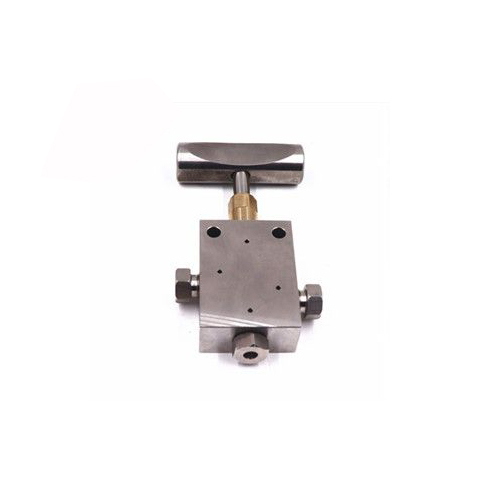
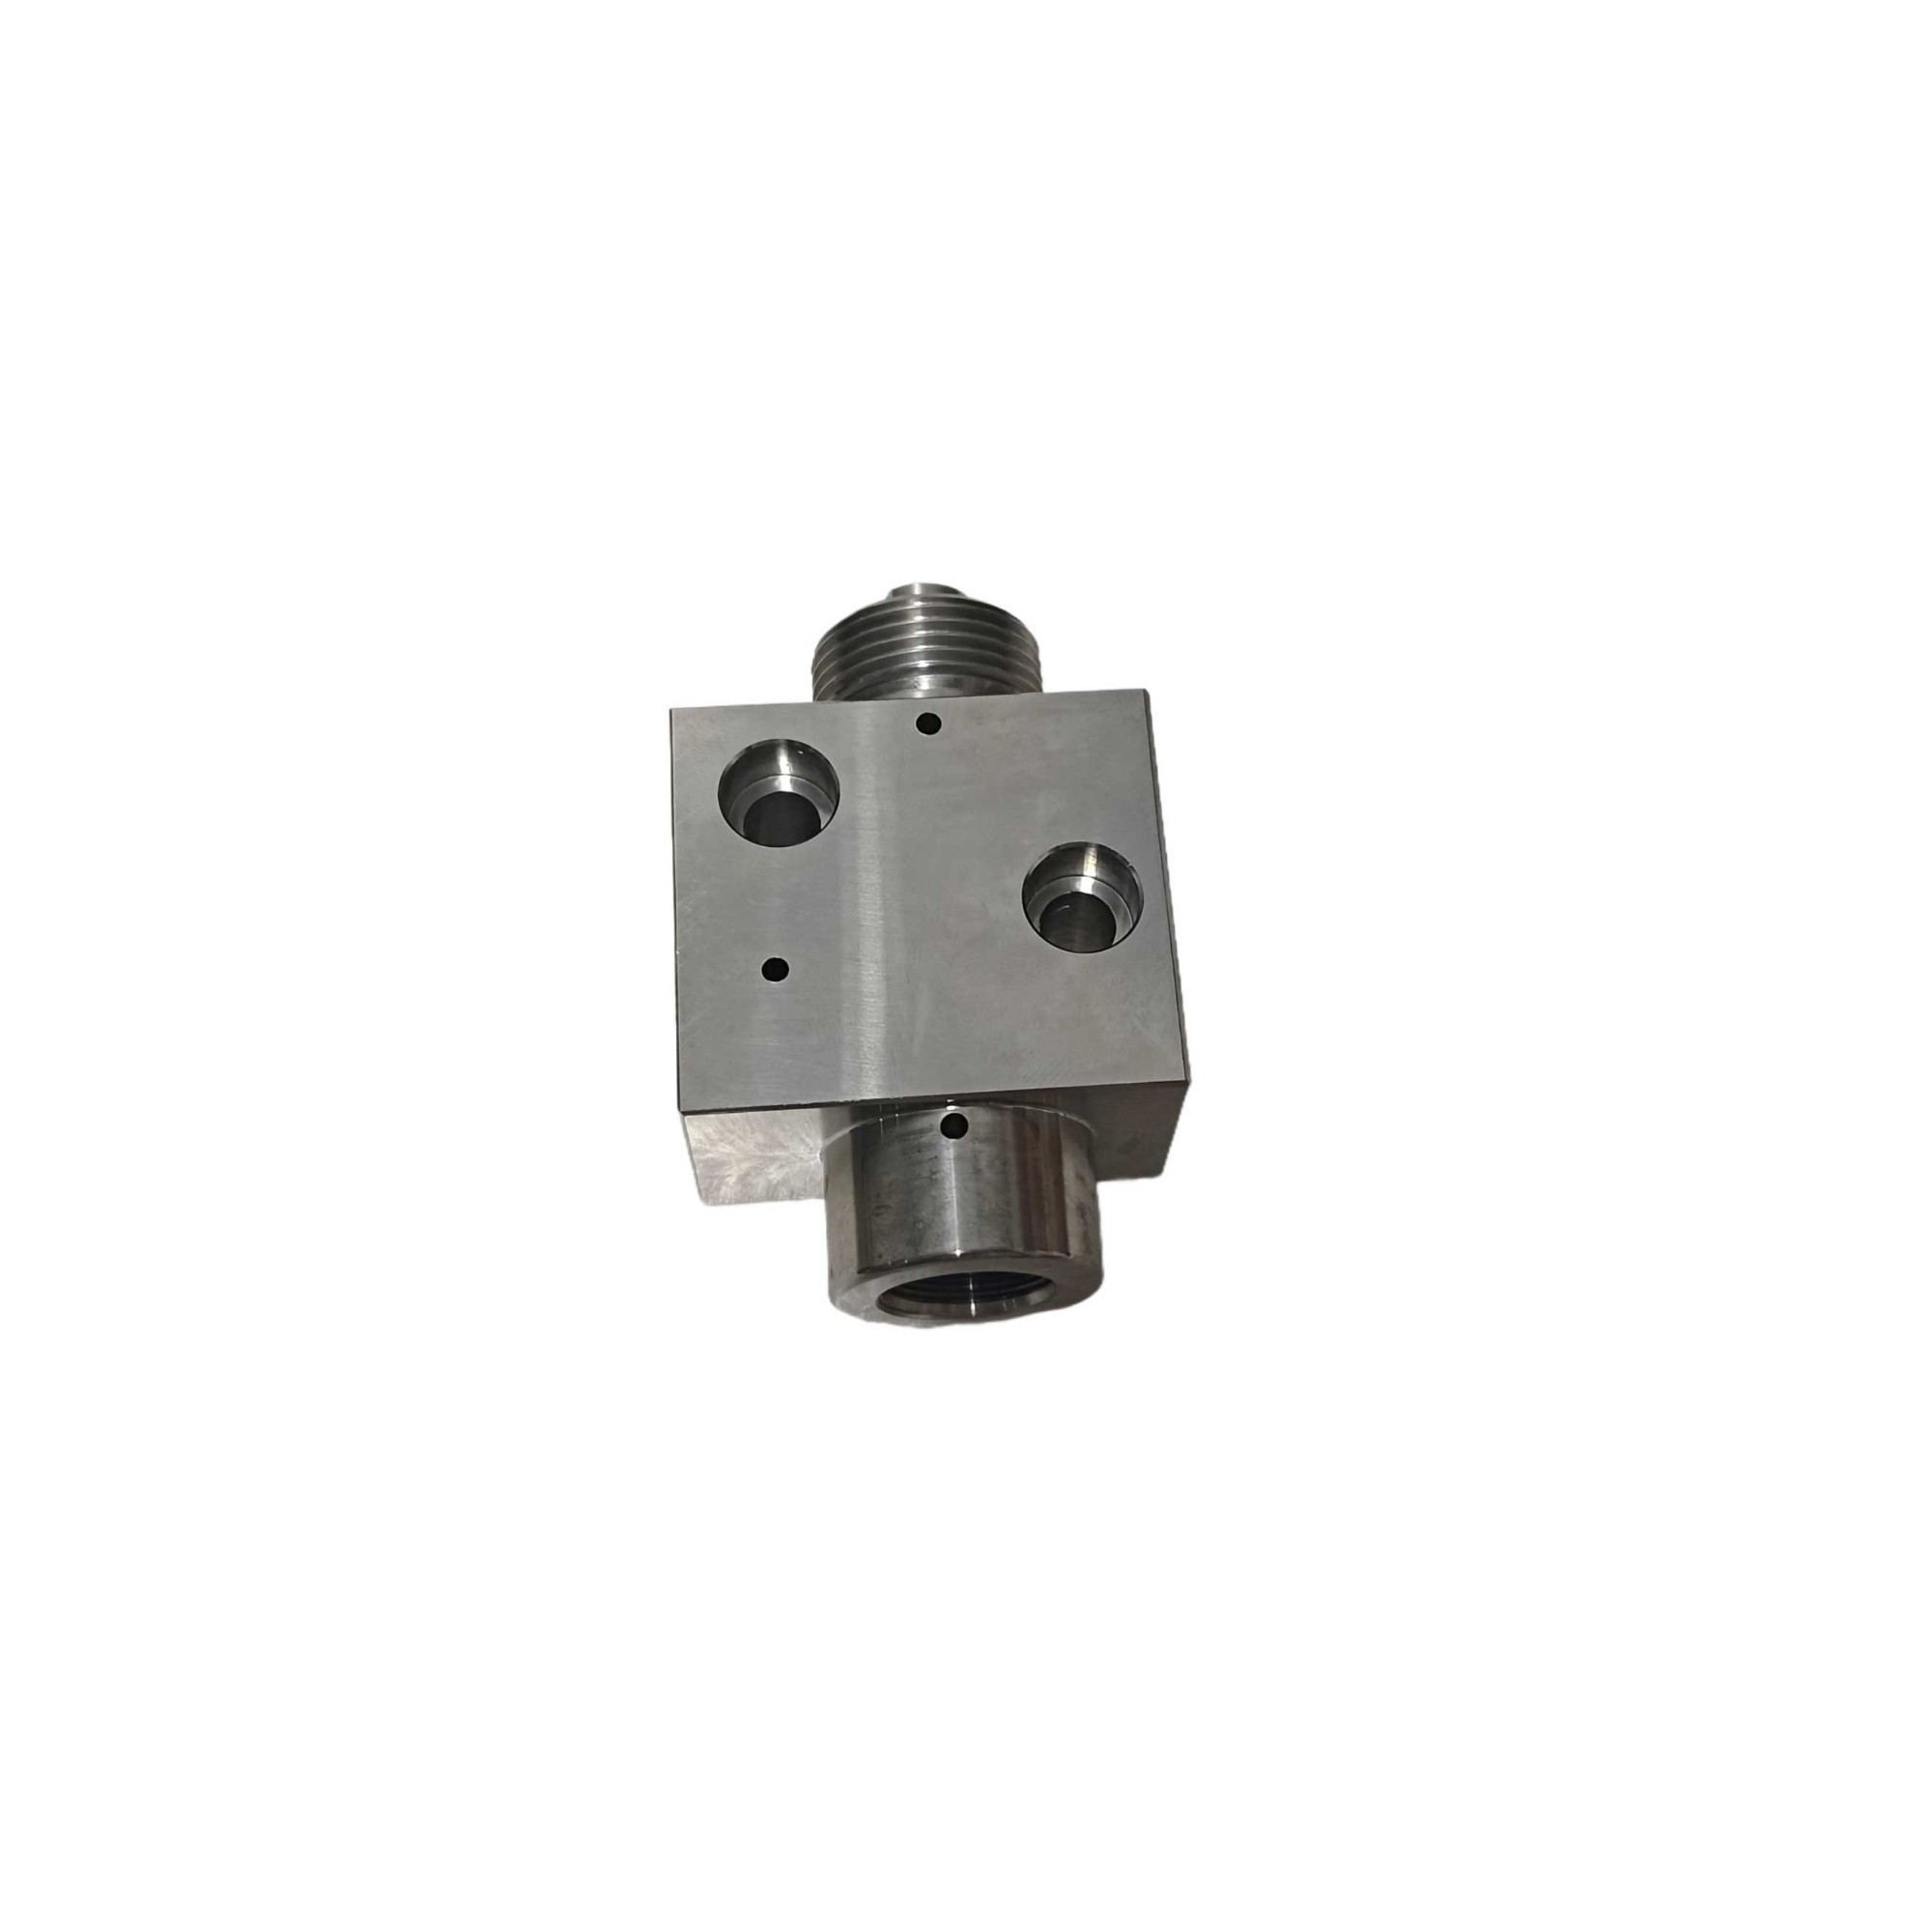
The On/Off Valve Repair Kit for YONGDA (referenced as 2167.3-1) is a specialized consumable assembly designed to service the pneumatic water switch on YONGDA waterjet cutting systems.
This repair kit is engineered to restore the sealing integrity of the "water switch," which is responsible for the precise start/stop control of the high-pressure cutting jet. It is rated for the standard ultra-high pressure waterjet environment (typically 60,000 PSI / 4,137 bar).
Function & Components:
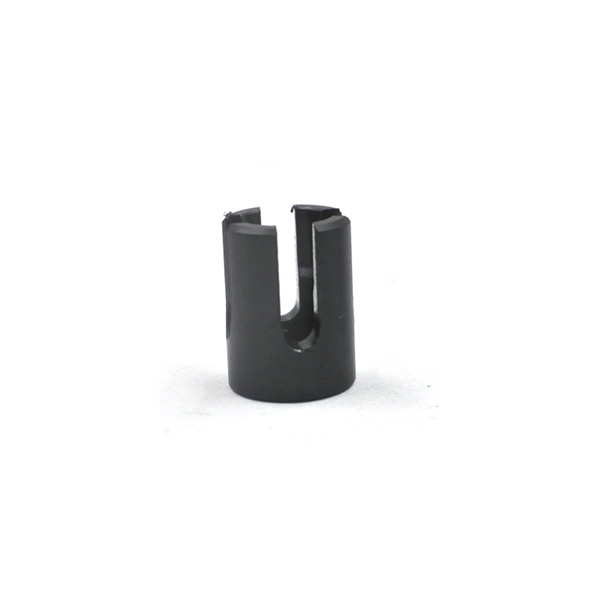
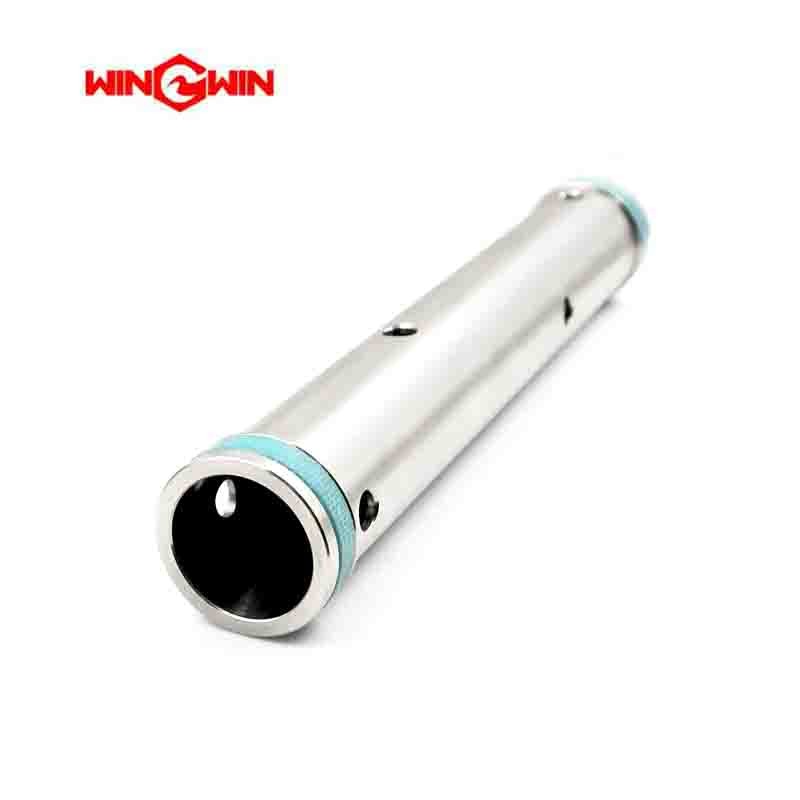
The kit functions by replacing the internal wear parts that degrade due to high-velocity water flow and mechanical cycling. It typically includes the following critical elements:
Valve Stem (Needle): The moving mechanical part that physically closes the water flow by seating against the valve seat.
High-Pressure Seal Assembly: Dynamic sealing elements that prevent high-pressure water from leaking past the stem when the valve is actuated.
O-Rings & Backup Rings: Elastomeric seals and rigid anti-extrusion rings that maintain a leak-proof seal under extreme pressure fluctuations.
Features:
Complete Overhaul: Contains all necessary sealing and wear components required for a full valve rebuild in one set.
Material Compatibility: Components are manufactured from wear-resistant, corrosion-resistant materials (such as PTFE composites, polyurethane, and high-grade elastomers) to withstand the harsh waterjet environment.
Precision Fit: Designed to meet YONGDA OEM specifications to ensure proper alignment and sealing.
Maintenance & Installation:
Installation Procedure:
Preparation: Fully depressurize the waterjet system and disconnect the compressed air supply.
Disassembly: Unscrew the locking nut on top of the pneumatic cylinder and remove the air cylinder.
Internal Access: Remove the retaining nut and pull out the valve stem assembly.
Replacement: Clean the valve body cavity, remove old seals, install the new O-rings, backup rings, and seal assembly from the kit.
Adjustment: Insert the new valve stem. When reinstalling the air cylinder, tighten it until it stops, then back it off one full turn (360°) to set the correct actuation clearance.
Testing: Pressurize the system to check for leaks before operation.
Critical Safety: Always perform lockout/tagout procedures before servicing the valve to prevent accidental high-pressure discharge.