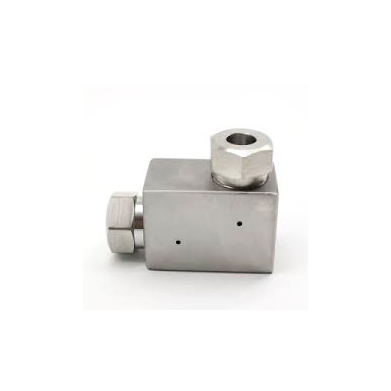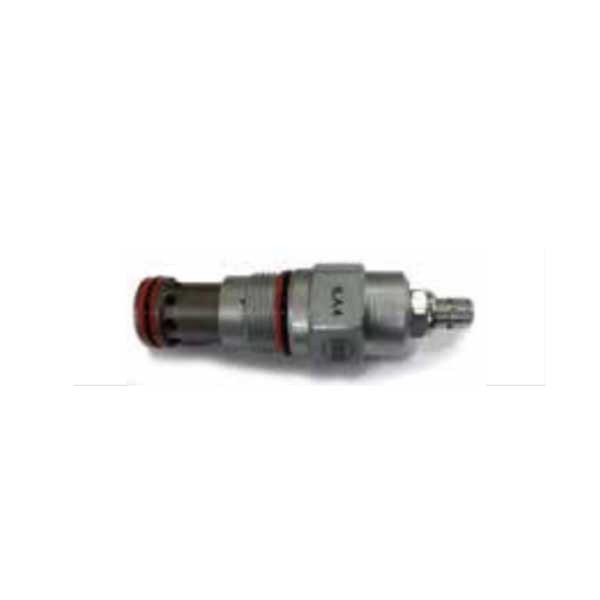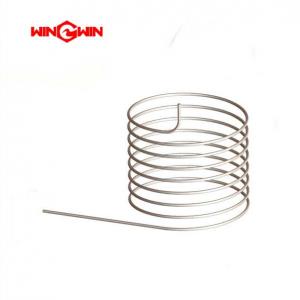
Swivel Seal Repair Kit 301665
Product Name: Swivel Seal Repair Kit / Bulkhead Swivel Repair Kit (Part No. 301665)
Description:
This component is a bulkhead swivel repair kit, also known as a swivel seal replacement kit, specifically designed for repairing the high-pressure swivel joint (Part No. 201719) in waterjet cutting systems . The swivel joint is a critical component that allows the high-pressure water line to rotate freely while maintaining a leak-free seal, enabling the cutting head to articulate without twisting or damaging the supply hoses.
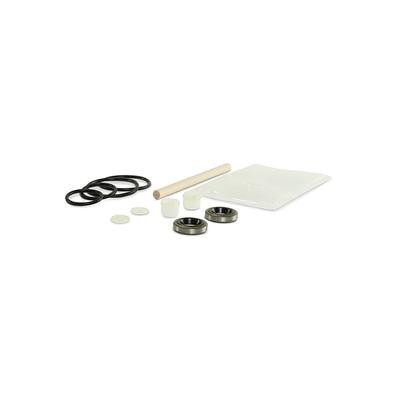
This rebuild kit contains all the necessary consumable parts required to replace worn seals and O-rings in a leaking bulkhead swivel assembly. The kit is specifically engineered to restore the swivel joint's sealing integrity under ultra-high pressure operation up to 4,200 bar (approximately 60,000-94,000 PSI) . It is manufactured to OEM specifications and is compatible with OMAX waterjet cutting systems .
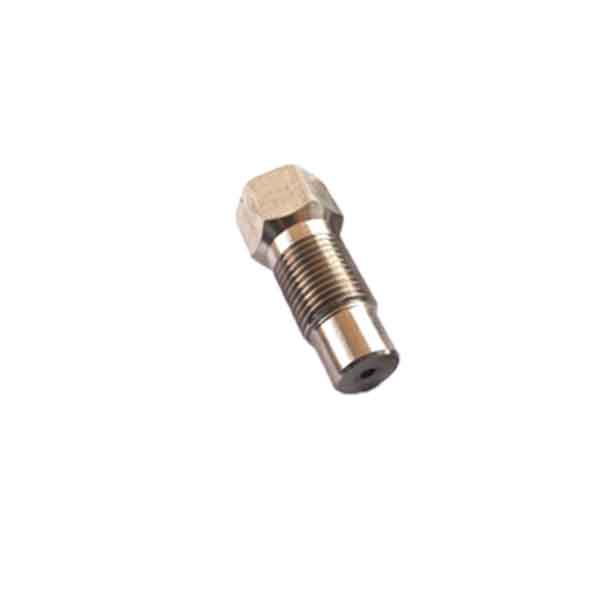
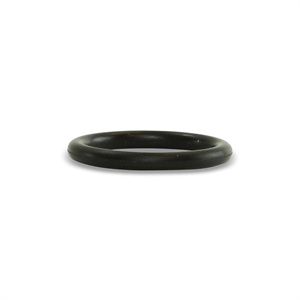
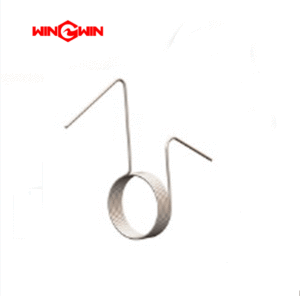
According to manufacturer specifications, this repair kit contains: 2 each of part numbers 201721, 201722, 201723, 201724, and 201725, along with complete instructions for rebuilding the bulkhead swivel assembly . All components are manufactured from high-quality materials including stainless steel, rubber, and plastic, ensuring exceptional resistance to wear, corrosion, and chemical degradation .
Applications:
Rebuilds the bulkhead swivel assembly (Part No. 201719) in waterjet cutting systems
Restores the swivel joint's ability to rotate freely without high-pressure water leakage
Suitable for ultra-high pressure waterjet systems operating at 60,000-94,000 PSI (approximately 4,137-6,480 bar)
Compatible with OMAX waterjet cutting systems and cross-compatible with other major brands
Used during scheduled preventive maintenance or when swivel joint leakage is detected
Features:
Complete Repair Kit: Contains all necessary seals, O-rings, and components for a full swivel rebuild (2 each: 201721, 201722, 201723, 201724, 201725)
OEM Quality: Precision-manufactured to meet original equipment specifications
High-Pressure Rating: All components engineered for continuous operation up to 4,200 bar (approximately 60,000-94,000 PSI)
Premium Materials: Components manufactured from stainless steel, rubber, and plastic for wear resistance and chemical compatibility
Comprehensive Instructions: Includes step-by-step rebuilding instructions for proper installation
Lightweight: Approximately 0.1 kg total weight for easy handling during maintenance
Maintenance:
When to Rebuild (Failure Diagnosis):
External Water Leakage: Visible water weeping from the swivel joint body indicates internal seal failure requiring immediate kit replacement
Stiff Rotation: Difficulty rotating the cutting head or binding sensation may indicate seal degradation
Pressure Drop: Inability to maintain rated cutting pressure may indicate swivel seal wear
Scheduled Preventive Maintenance: Rebuild the swivel joint during scheduled major maintenance intervals to prevent unplanned downtime
Rebuild Procedure:
Full Depressurization (Critical): Before any maintenance, fully depressurize the waterjet system (high-pressure water, hydraulic system, and air supply) and follow lockout/tagout procedures
Remove Swivel Assembly: Carefully disconnect and remove the bulkhead swivel assembly (Part No. 201719) from the high-pressure water line
Disassemble: Following the included instruction sheet, disassemble the swivel body, removing the old seals, O-rings, and component parts
Inspect Swivel Body: Examine the swivel body bores and sealing surfaces for scoring, pitting, or erosion. Replace the entire swivel assembly if damage is severe
Clean Thoroughly: Clean all metal components and the swivel body cavity with low-pressure water and soft brushes. Remove all debris, mineral deposits, and old seal residue
Install New Components: Install all new seals and O-rings from the repair kit in the correct order and orientation (2 each of part numbers 201721, 201722, 201723, 201724, 201725)
Lubrication: Apply manufacturer-recommended high-pressure grease to seals and O-rings during assembly to prevent dry start-up and ensure proper seating
Torque Compliance: Reassemble and tighten all components to the torque values specified in the equipment service manual
Rotation Test: After reassembly but before reinstallation, verify the swivel rotates smoothly without binding
Pressure Test: After reinstallation, slowly pressurize the system and check for external leakage while rotating the swivel through its full range of motion
Replace if Damaged: Replace the entire swivel assembly if the housing is cracked, threads are damaged, or internal erosion is excessive
Cross-Reference Information:
Bulkhead Swivel Repair Kit
Materials: Stainless steel, rubber, plastic